Running Tests Quick Start
This guide assumes that you've already installed Moonwall and you have a basic test case that you want to run. The test case can be a simple transaction that transfers some dust from one test account to another. You can put together a simple test suite here in the Quick Start Writing Tests guide
Getting your Config File Sorted
Your moonwall.config.json file that lives in the root directory of your project is the key to setting up a sublime testing experience. Go ahead and open it up and let's get started setting it up. In this quick start, we'll set up our Moonwall config file for testing on a local moonbeam node using the dev foundation.
Environment
You'll need to give a name to your environment and you'll need to specify a directory for your test files. The default parameters are as follows:
"environments": [
      {
         "name": "default_env",
         "multiThreads":false,
         "testFileDir": [
            "tests/"
         ],
For more information about each of the above parameters, please see environment configuration.
Foundation
For this quick start, we've chosen the dev foundation, which utilizes a local development node. We also specify our port information.
 "foundation": {
            "type": "dev",
            "launchSpec": [{
              "name": "Moonbeam",
              "running": true,
              "newRpcBehaviour": true,
              "binPath": "tmp/moonbeam",
              "ports": {"rpcPort": 1337}
            }]
         },
For more information about each of the above parameters, please see foundation configuration.
Connections and Providers
You'll define a new connection for each type of connection that you'd like to have to your chain. The 5 types of connections are as follows:
- polkadotJs
- ethers
- web3
- moon
- viem
We've defined here our endpoint information and set up two connections, one that uses the polkadotJs provider and another that uses the Ethers provider. Of course, if you don't have a need for the Ethers connection, you don't need to include it.
{
  "connections": [
    {
      "name": "myconnection",
      "type": "polkadotJs",
      "endpoints": [
        "ws://127.0.0.1:1337"
      ]
    },
    {
      "name": "myconnection",
      "type": "ethers",
      "endpoints": [
        "ws://127.0.0.1:1337"
      ]
    }
  ]
}
Sample Config File for Dev
Putting it all together, our config file for testing on a local Moonbeam node using the dev foundation looks like this:
{
   "label": "moonwall_config",
   "$schema": "https://raw.githubusercontent.com/Moonsong-Labs/moonwall/main/packages/types/config_schema.json",
   "defaultTestTimeout": 30000,
   "environments": [
      {
         "name": "default_env",
         "multiThreads":false,
         "testFileDir": [
            "tests/"
         ],
         "foundation": {
            "type": "dev",
            "launchSpec": [{
              "name": "Moonbeam",
              "running": true,
              "newRpcBehaviour": true,
              "binPath": "tmp/moonbeam",
              "ports": {"wsPort": 1337}
            }]
         },
            "connections":[{"name": "myconnection", "type": "polkadotJs", "endpoints": ["ws://127.0.0.1:1337"]},
            {"name": "myconnection", "type": "ethers", "endpoints": ["ws://127.0.0.1:1337"]}

         ]

      }
   ]
}
Running your Tests
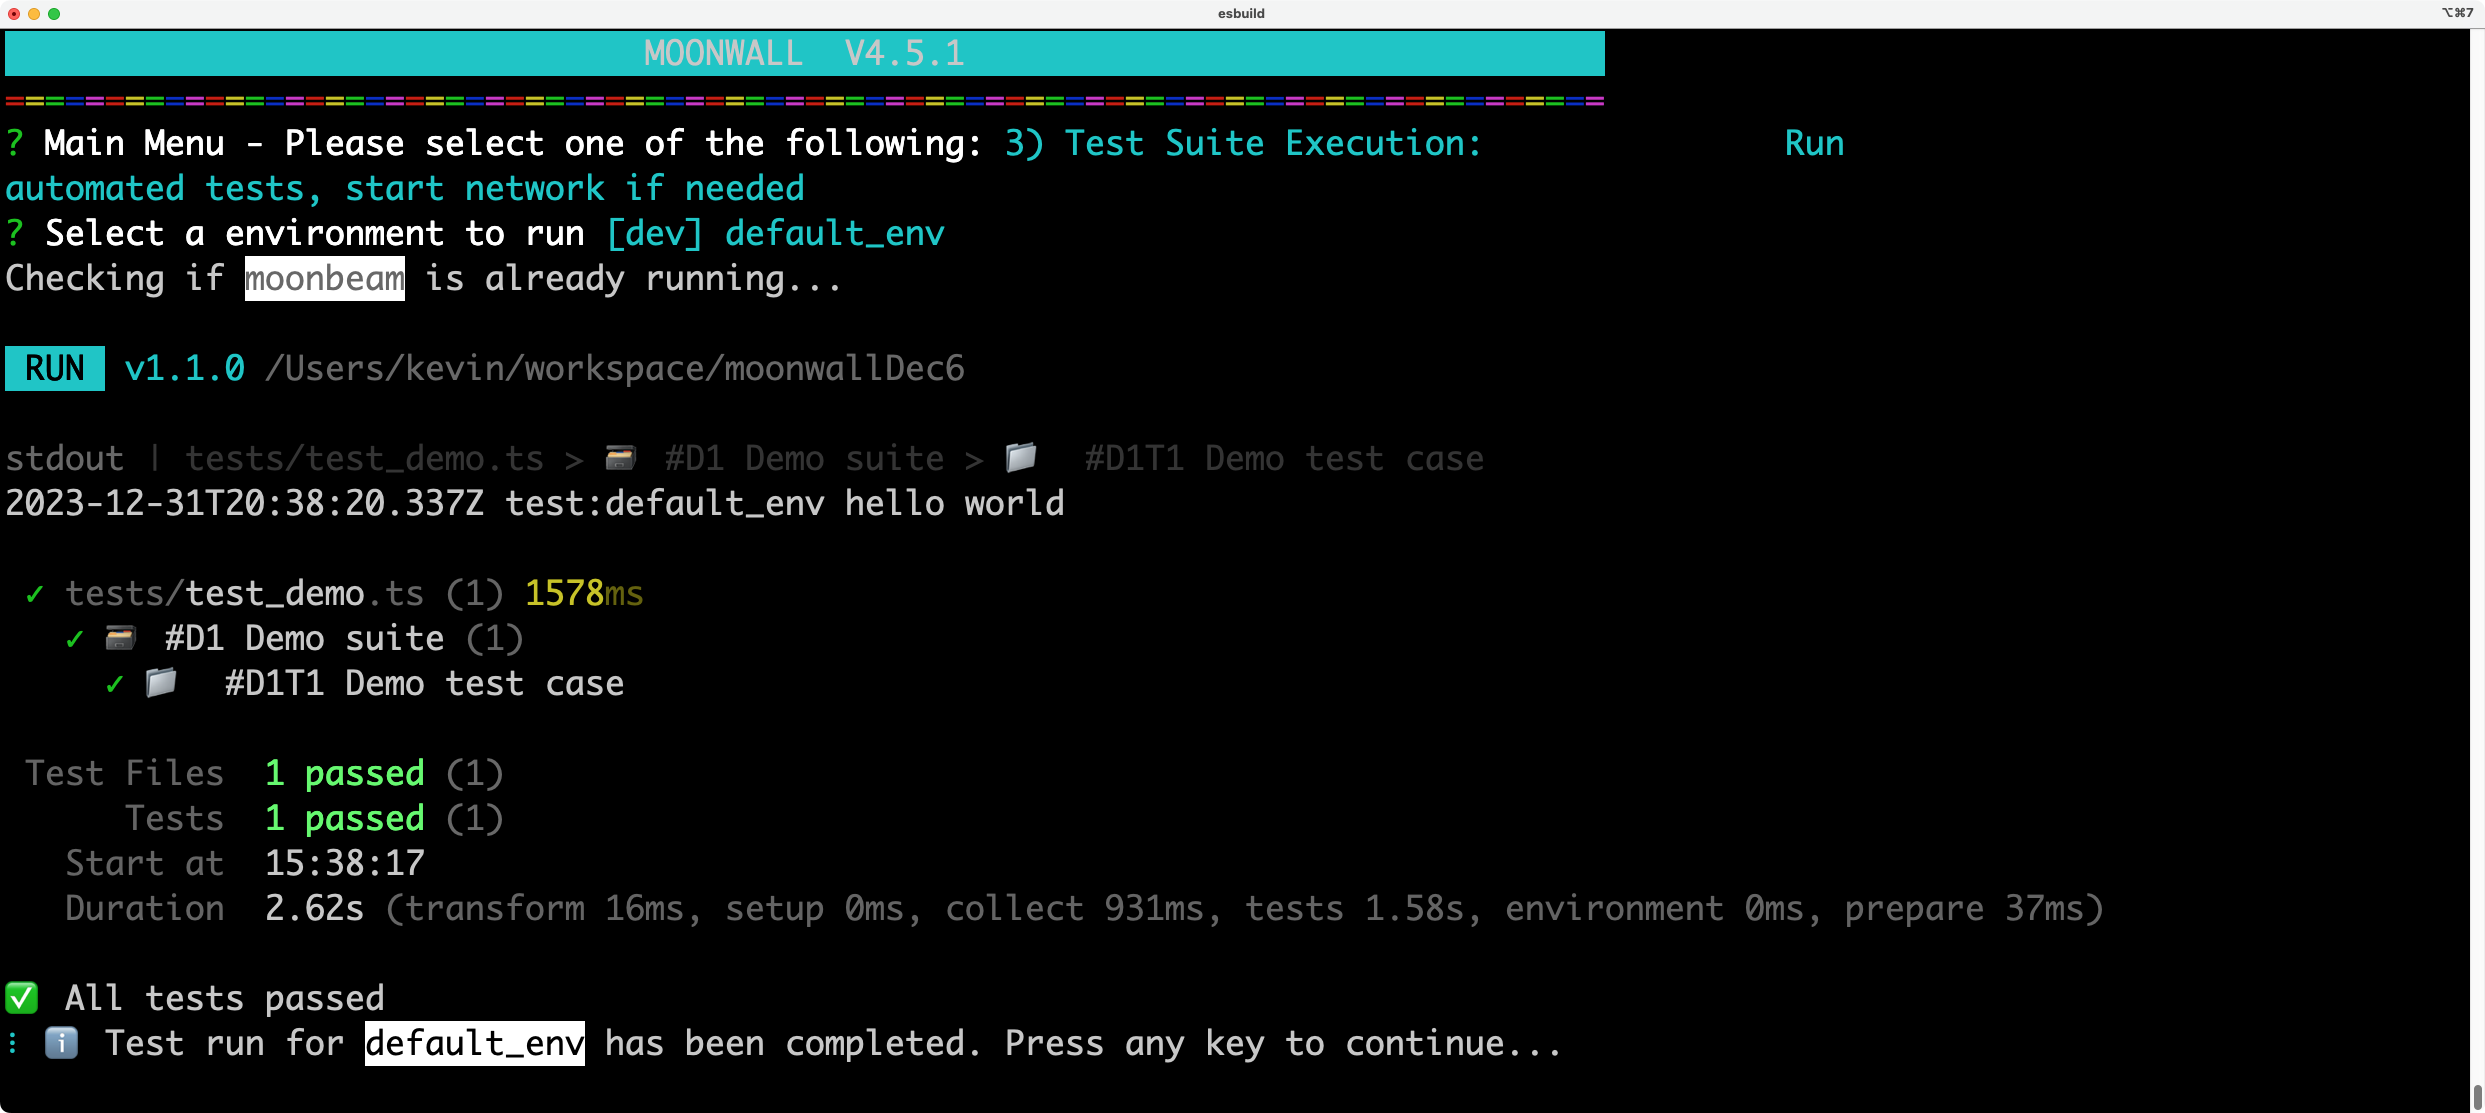
After you've assembled your config file and written your test suite now it's time to run it! To do so, take the following steps:
- Run
pnpm moonwall - Select the option of 3) Test Suite Execution
- Select the environment that you configured
- Review the results

Network already running?
If the network that you're running your tests against is already up and running locally, Moonwall will detect this, and you'll get a message such as:
The following processes are already running:
moonbeam - pid: 96050, listenPorts: [30333, 9615, 9944]
Moonwall will ask you how you'd like to continue, and you have three options as follows:
- 🪓 Kill processes and continue - Stop your existing network, spin up a new one as defined in your Moonwall Config, and proceed to run the tests.
- ➡️ Continue (and let processes live) - Keep your existing network running, and proceed to run the tests.
- 🛑 Abort (and let processes live) - Keep your existing network running, and do not run tests.